English
  Español
  한국어
한국어  français
  Deutsch
  русский
  português
  العربية
  tiếng việt
  Türkçe
  ไทย
ไทย 

Required devices: small nut, injection valve, three connecting pieces, filter bottom valve, liquid outlet pipe, liquid inlet pipe
The places that need to be operated are: upper valve, lower valve, exhaust valve, pump head screw, large nut, locking block, locking joint
Step 1: Install The Liquid Inlet Pipe Of the Prominent Solenoid Metering Pump
Insert the large nut into the pipe, and insert the locking block. Pay attention to the threading direction. Thread the locking joint and press it into the bottom of the pipe. Connect the liquid inlet tube. Here you need to pay attention to the color of the tube, the transparent tube is the liquid inlet tube. Insert the large nut, pay attention to the direction when inserting the locking block, and insert the locking joint. You have to ensure that the end of the pipe is flush and less than or equal to 1 mm from the bottom of the locking joint, and then you can penetrate the pipe in sequence and connect to the metering pump in time.
Step 2: Install The Outlet Pipe Of Prominent Solenoid Metering Pump
Take out the other end of the liquid pipe, and pay attention to colors, milky white is the liquid outlet pipe, and transparent is the liquid inlet pipe. Thread the small nut, take the jet valve and insert it into the end of the liquid outlet pipe that has been cut flat. The end of the pipe and the bottom end of the jet valve should be smaller than or equal to 1 mm. Tighten the small nut, be careful not to use a wrench or pipe wrench to tighten it, it will easily cause deformation and damage to the plastic parts.
Step 3: Injection Valve Assembly Of Prominent Solenoid Metering Pump
When the injection valve is assembled, these parts need to be checked: liquid outlet pipe, small nut, injection valve, and medicine outlet (not blocked). Take one end of the liquid inlet tube, and pay attention to the color of the tube, the transparent tube is the liquid inlet tube, and the milky white is the liquid outlet tube. Insert the small nut, and insert the tip of the bottom valve into the tube. The distance between the bottom of the tube and the bottom of the bottom valve should be less than or equal to 1 mm. Tighten the small nut by hand, be careful not to use a wrench or pipe wrench, it will cause difficulty in applying liquid or damage the bottom valve.
Step 4: Check After Installation Of Prominent Solenoid Metering Pump
Check whether the sealing ring is in good condition, whether there is foreign matter inside, whether the "cross" structure is facing up, whether there is debris, whether the parts are neat, whether the sealing ring is needed again, dosing pump icon, etc. Place the liquid outlet pipe horizontally, and tighten the nut by hand. Do not use Wrench and wrench-type tools. Tighten the lower valve nut, in the same way, check again whether the nut is tightened, connect the liquid outlet pipe, and put it into the cartridge. The installation of a prominent solenoid metering pump is finished!
Below We have also uploaded some prominent metering pump manuals for you to read. We sincerely hope this prominent dp pump manual will help you know more about prominent solenoid metering pumps.
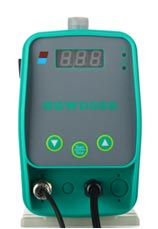
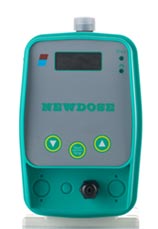
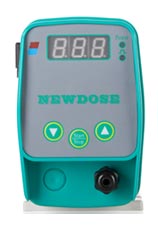
Related Dosing Pumps